


When I first started canning, jams and jellies were the gateway. They are one of, if not the, easiest beginner canning recipes. The satisfaction you’ll feel every time you use something that you took the time to preserve is something special. Knowing that you made it from scratch; it’s almost like sourdough bread… like you’ve cracked the code to adulthood.
Note: This is a reformatted version of a previous post. Please READ THIS if you’d like more information.
But this jelly falls into a different category of satisfaction for me. Not only is it incredibly easy to make, because it’s jelly… BUT, it’s made from things that would have been tossed away, or composted in the first place. I was looking for a simple way to continue to use the scraps I had from making applesauce and apple butter.
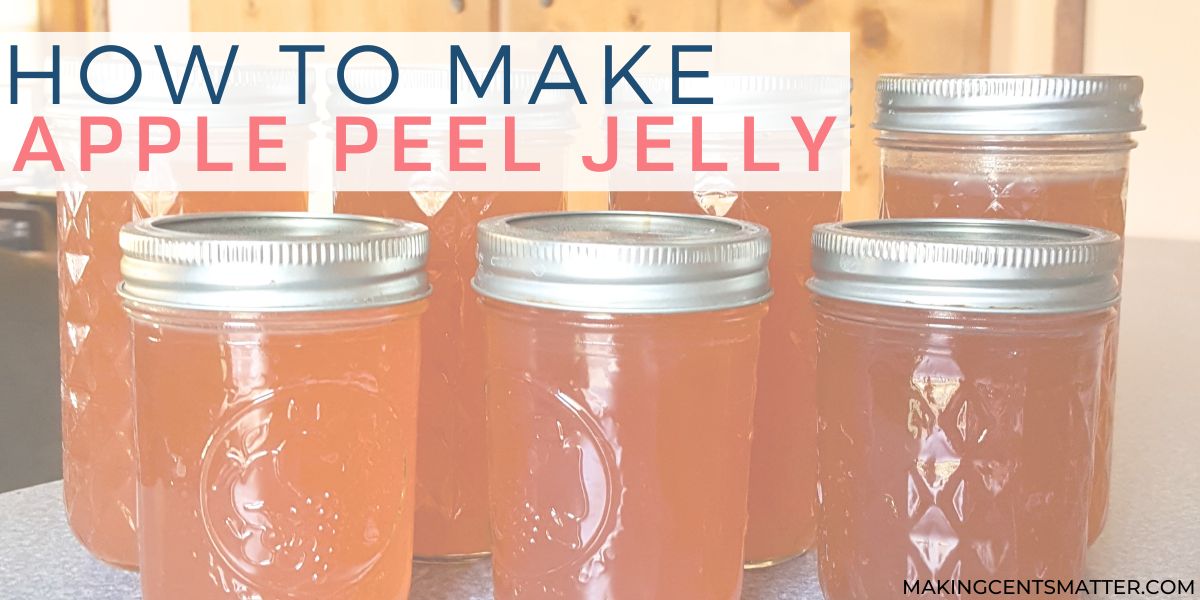
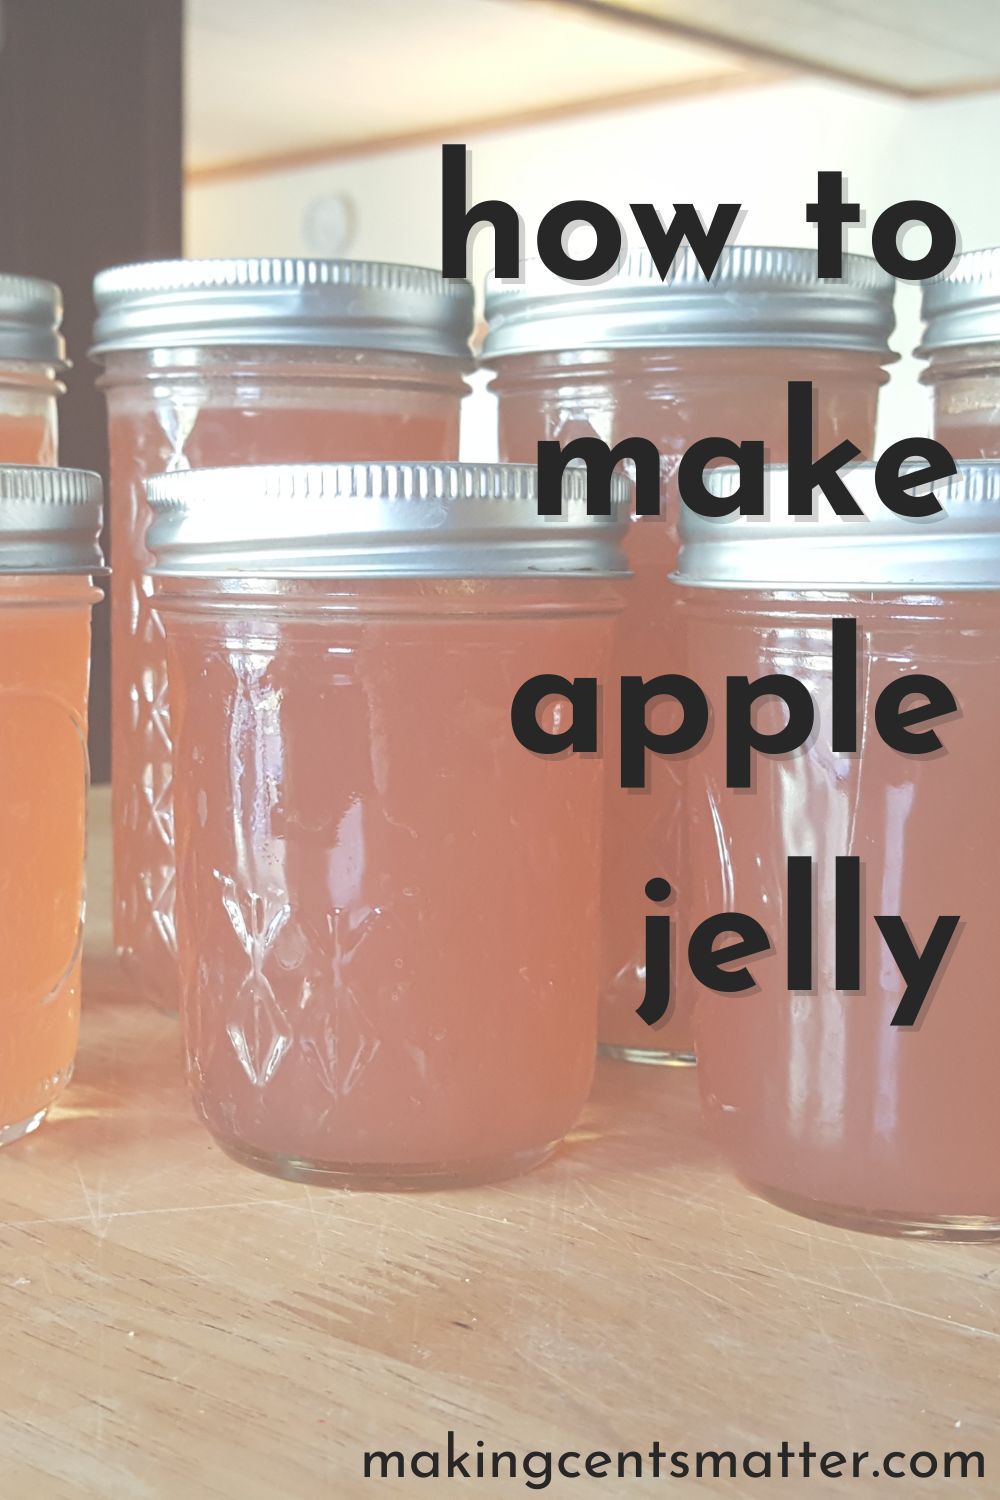
This Apple Peel Jelly recipe is a simple alternative to jams, and can help you use up those scraps! This tutorial will help you learn how to make and can apple jelly straight from those scraps.
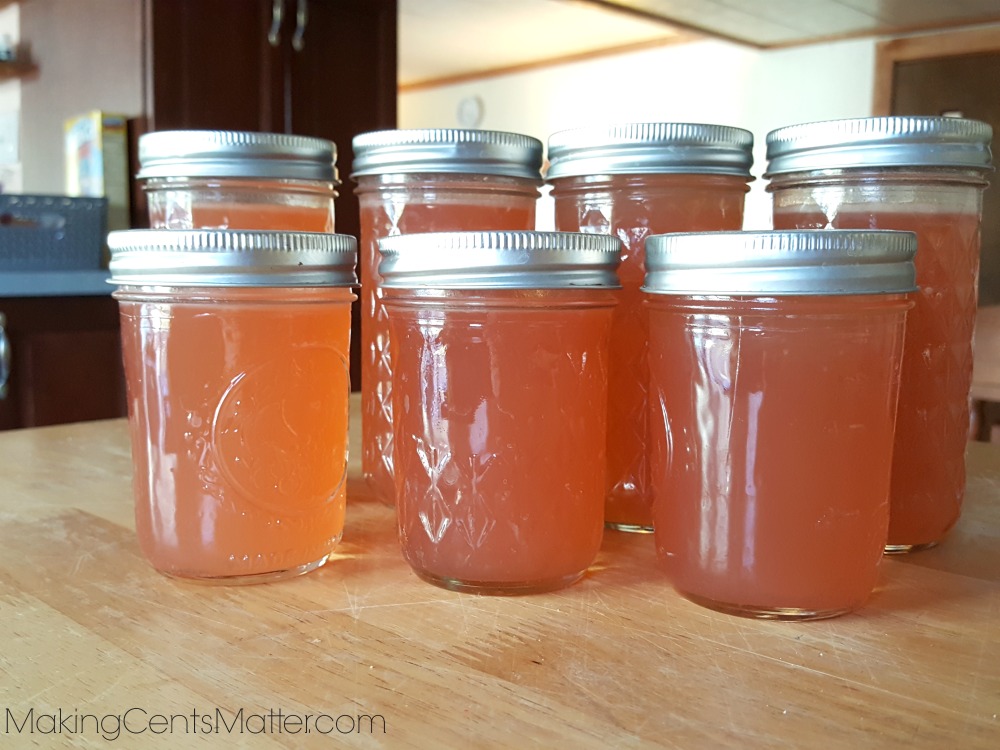
Since this recipe uses apple scraps, depending on the type of apples you use, the jelly has such a nice blush – pinkish color to it.
But, if you don’t have any apple peels and cores, you can still make apple peel jelly from store-bought apple juice by simply skipping to step 2!
What You Need For Canning Apple Peel Jelly
Please Note: The ingredient list below assumes that you have already made applesauce and want to use the peels and cores before throwing them into the compost pile.
- Apple Peels and cores left over from making applesauce.
———-OR———- - 8 Cups of Store-Bought Apple Juice
- Water
- 6qt pan*
- Strainer
- Pectin* — I like to use the Ball Classic Flex Batch Pectin
- Fruit Fresh*
- Water Bath Canning Kit*
- Jars, Lids & Rings*
- Sugar
- Butter
Juice the Peels & Cores
When I made this recipe, I used peels and cores from about 14 pounds of apples that were made into applesauce. If you don’t want your peels and cores to turn brown while you prep your apples, Fruit Fresh* is your best friend. I don’t mind some brown with my apples, but I do use it a lot when I’m canning peaches.
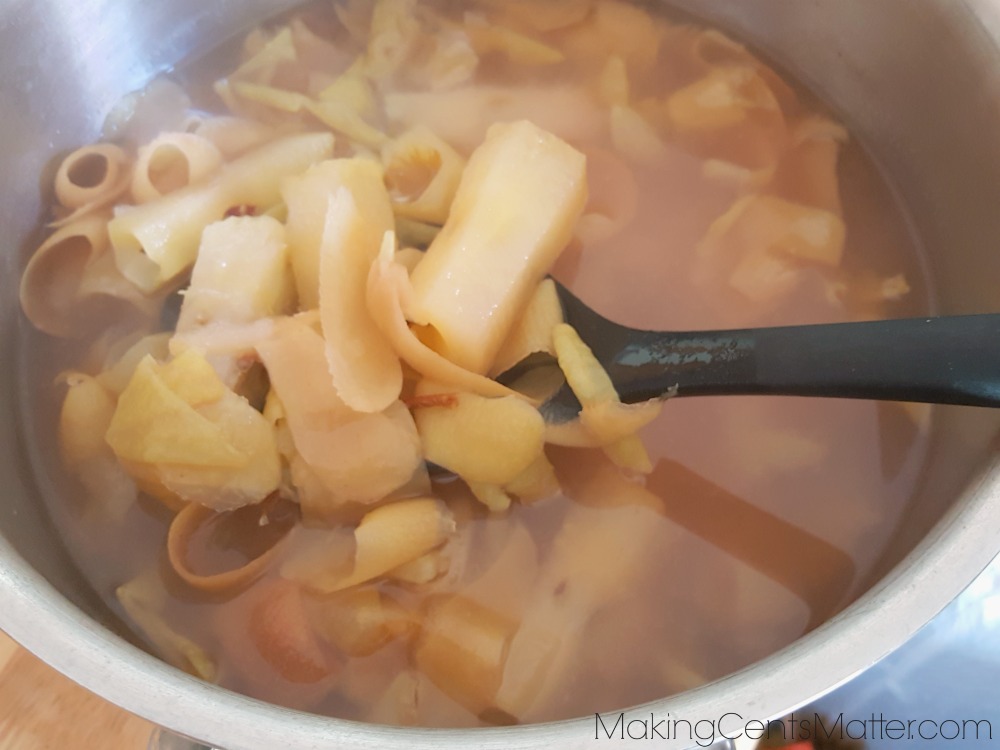
Place your peels and cores in a 6qt stock pot and cover with water. Bring to a boil, reduce heat, and simmer until the peels and cores are soft. It should take about 30 minutes or so.
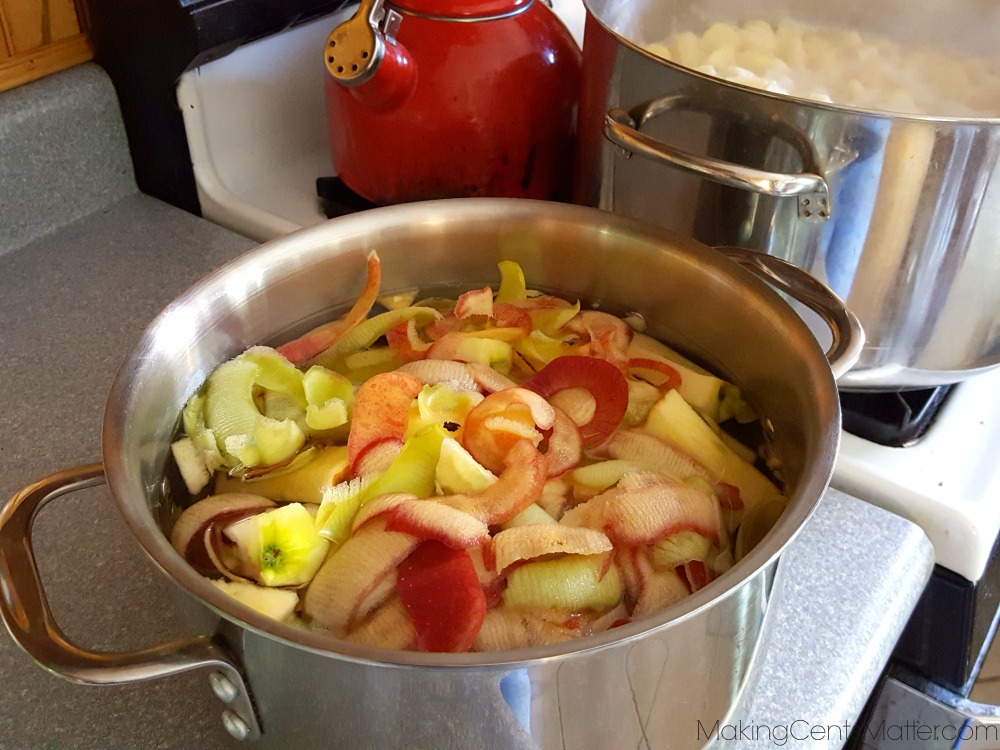
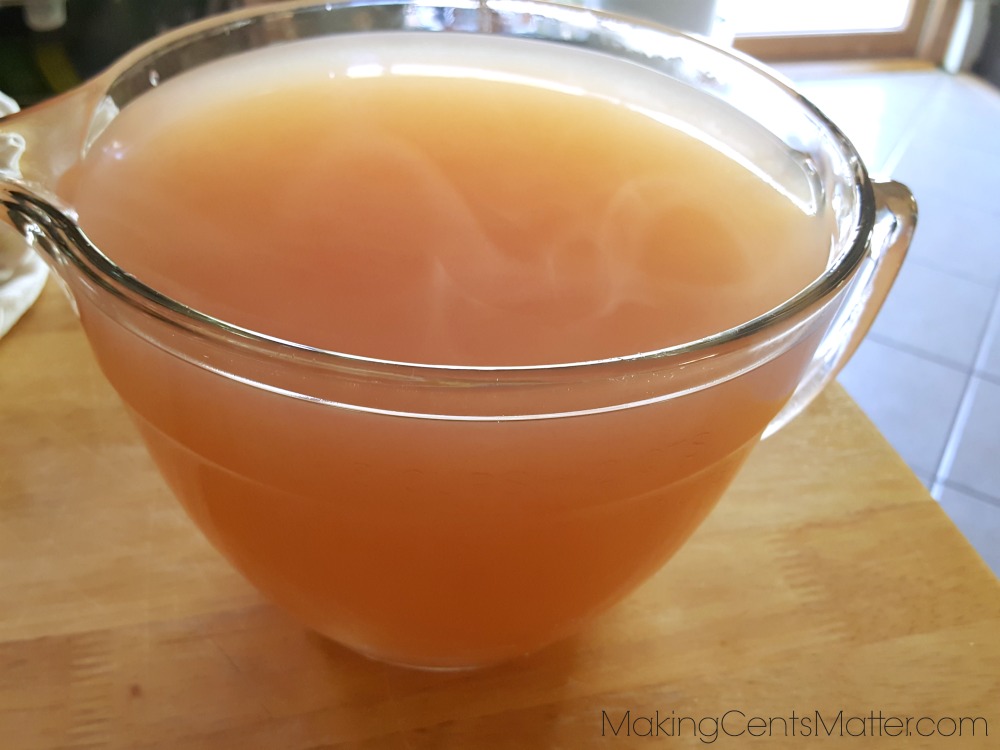
Strain the peels from the juice. Allow the juice to cool; compost the peels and cores. I didn’t get back to the juice for a few days {soccer season and all}, and it was perfectly fine sitting in the fridge until then.
Before going on, you’ll need to measure the amount of juice you have. I wound up with 8 cups. Any more than this and the pectin may not set correctly, so you’ll have to divvy it up into separate batches to make your apple peel jelly.
**For a more accurate amount of pectin for your amount of apple juice, check out this pectin calculator from Ball.**
When I did return to making the jelly, I noticed that there was pulp at the bottom. If you prefer to leave the pulp at the bottom, you could, but I chose to strain it out. There was a cup of pulp at the bottom, so I added a cup of water to bring the liquid back to 8 cups. You could also add a cup of store-bought apple juice if you have it on hand; I didn’t at the time.
Prep Your Jars
Note: Making apple peel jelly will go much faster when you use pectin.
Unlike when you’re cooking applesauce down or peeling peaches, making jelly will go fast. So while you’re waiting for the juice mixture to come to a boil, wash and sterilize your jars, lids, and rings. For 8 cups of juice, you’ll need roughly 8 – 10 half-pint jars. I didn’t have enough empty 8oz jars, so I used some 12oz jars and it worked out fine.
I’d also get your canner filled up and start heating the water. Trust me, it’ll take longer to heat up than the jelly will to set.
Fill the jars with boiling water, and sit on the rack of your canning jar to remain hot while the applesauce cooks down. Put your lids in a bowl of hot water to help soften the seals. As of recently, this isn’t a necessary step, but it does help the lid seal easier.
Make the Apple Jelly
Put the apple juice in your 6qt pot. Add 6 tablespoons of pectin. I prefer to use the Ball Flex Batch* since I don’t have to wait until I have a specific amount of fruit. I can simply make small or large batches of jams and jellies.
That said, if you’re making a smaller batch of apple jelly, the ratio you will need is 4 cups of juice to 3 Tablespoons of pectin.
I also add a teaspoon of butter to help reduce the amount of foam that the jelly makes.
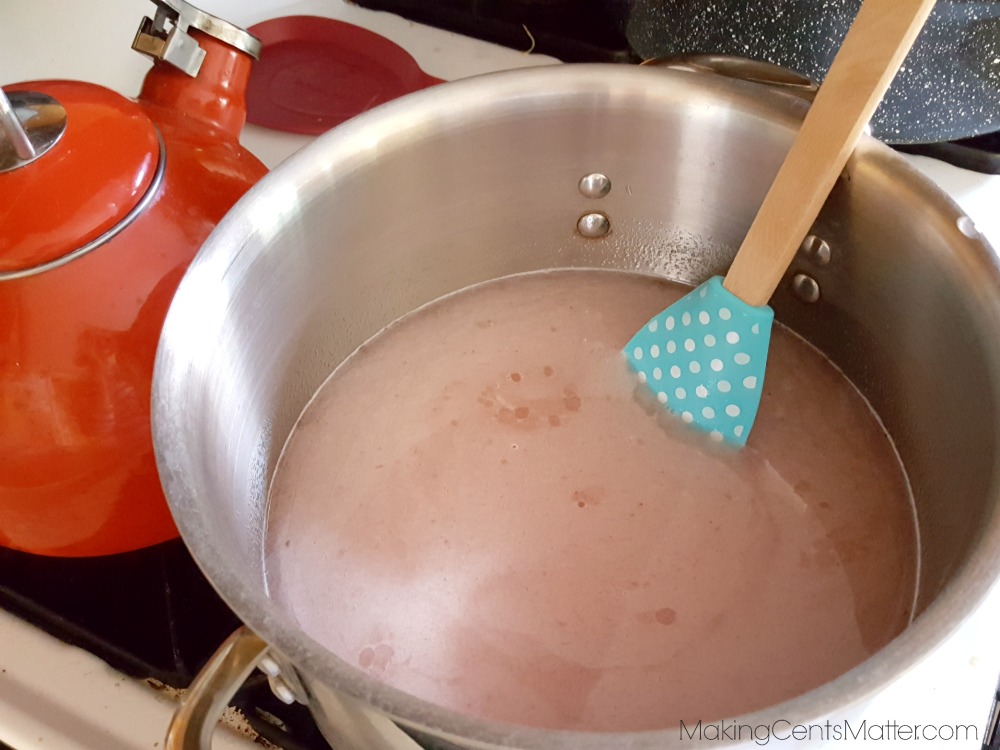
Bring the mixture to a full rolling boil, or a boil that doesn’t go away when you stir the mixture.
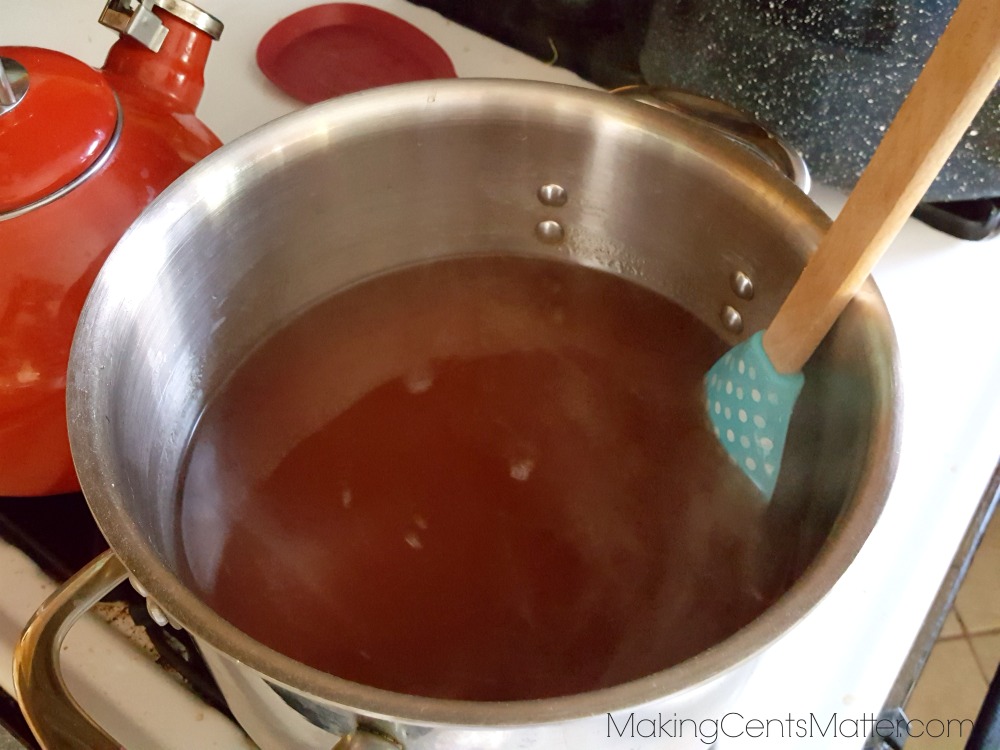
Add 4 cups of sugar, stirring constantly for the sugar to dissolve and not stick to the bottom of the pan.
Bring the mixture back to a full rolling boil.
Boil for 1 minute, stirring constantly. Remove your jelly from the heat.
Fill Your Jars For Canning
Working one jar at a time, ladle the jelly into hot jars, leaving about 1/4″ headspace. Headspace is simply the distance between the rim of the jar and the contents of the jar.
Remove any air bubbles with the headspace tool.
Then using a damp cloth, wipe the rim of the jar. This ensures that there is no food on the rim that may impede the seal.
Using the magnetic lid lifter, add the lid and tighten the ring until it is fingertip-tight.
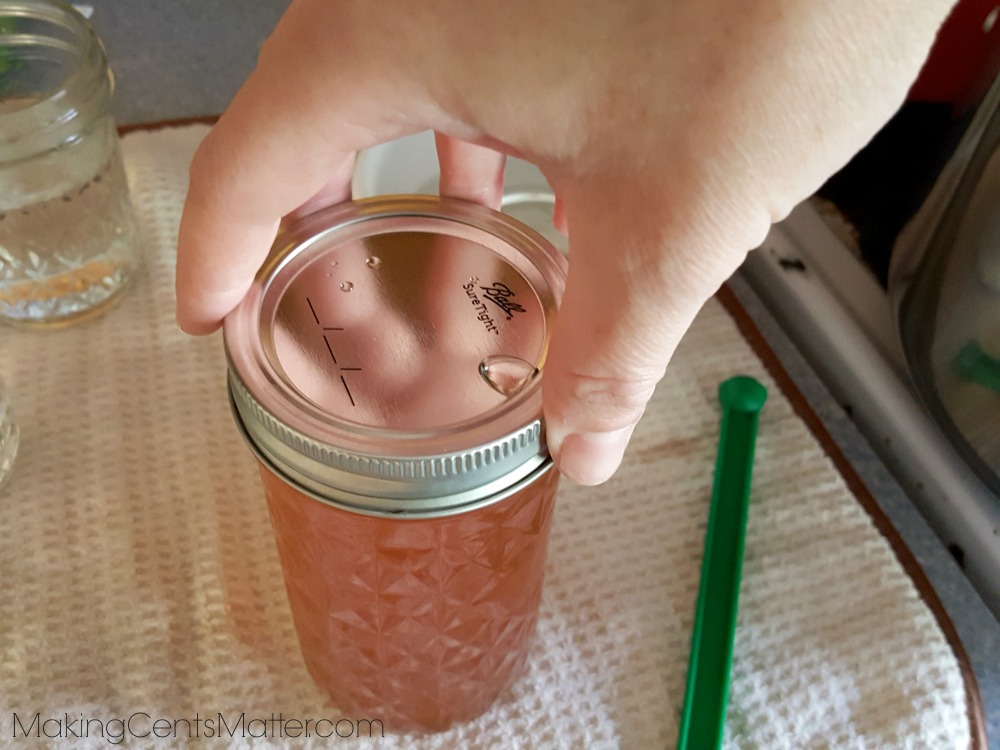
Place the jar in the canner and repeat the process until all the jars are filled with your apple peel jelly.
Process the Apple Peel Jelly
When all the jars are filled, lower the rack into the canner and bring the canner up to a boil. If you’re like me and forgot to start the canner early on, you can place the jars in hot, non-boiling water and they’ll be fine. Just don’t place hot jars filled with hot jelly in cold water. And remember to start your processing time after the water comes to a full, rolling boil.
Process half pints for 10 minutes, remembering to adjust your processing time for your altitude.
To adjust your processing time, increase your time by 5 minutes. For example, our altitude is 1,350 feet, so I process my applesauce for 15 minutes. If you were above 3,000 feet, you would process for 20 minutes, above 6,000 feet, you would process for 25 minutes, etc. This helps compensate for the difference in boiling temperature and air pressure at higher elevations compared to sea level.
When the processing time is done, turn off the heat and remove the lid. Allow the jars to cool inside the canner for 5 minutes before removing. Place jars on a towel and allow to cool for 12 hours before checking the seal.
To do this, push down in the center of the lid. If your lid is sealed, it should not give, or “pop”. To store, remove rings, label your lids with the contents and date, then store in a cool place until you are ready to use them.
If your lid did give, or “pop”, you can either reprocess your jar with a new lid within 24 hours or store it in the fridge to eat within the next week.
Don’t be alarmed if your jelly still looks like a liquid at this point. Apple jelly can take up to two weeks for the pectin to fully set. So if you’re jelly looks a little watery initially, don’t be worried.
Leave a Reply